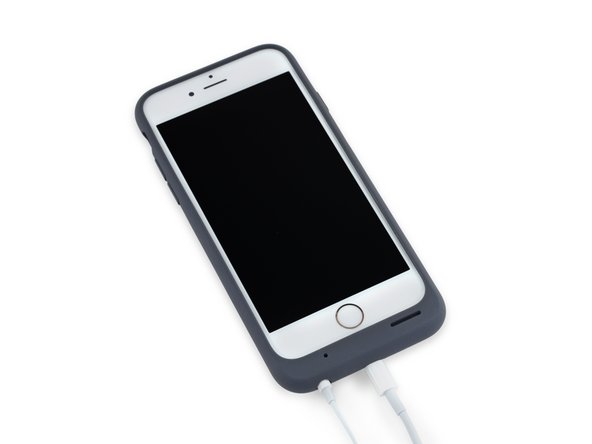
What you need
-
-
Some "smart" specs for your perusal:
-
Up to 25 hours of talk time, 18 hours of Internet use on LTE, and 20 hours of video playback
-
Lightning Connector
-
Microfiber interior, silicone exterior
-
Compatible with iPhone Lightning Dock
-
-
-
The back of the battery case boasts its most important feature: an iPhone 4 backpack!
-
Jk...Probably.
-
While the Smart Battery needs its own external Lightning connector to charge and pass data through to the iPhone within, 3.5 mm headphone jack connectivity is provided in the form of...a hole.
-
As expected, the pass-through hole is perfectly sized for your iPhone's included Apple Earpods.
-
However, for anything bigger, you'll need some sort of adapter. No fancy studio-size jacks for this pack.
-
-
-
For you rose golders out there, you're going to suffer some reduced flashiness, as this case covers most of the shiny metal body.
-
The case
features a "soft elastomer hinge design"is bendy above the battery bulge, to allow sliding the phone in and out. -
This works pretty well. You probably won't want to do it every day, but there's probably some kind of reinforcement in there (more on that later).
-
-
-
-
Just like Apple's last "Smart" device, this is going to be an unavoidably destructive teardown. Buckle up!
-
A hot iOpener softens the adhesive securing the soft lining, then some deft prying power peels the cloth layer away.
-
Peeling back the lining we get our first look at the "brushed" aluminum underneath.
-
We also spot a mesh interfacing that strengthens the silicone hinge, preventing fatigue damage. Cool!
-
-
-
A tiny hole in the microfiber lets the LED charging indicator shine through—an indicator you'll only actually see if you're charging your battery case without an iPhone in it.
-
So, approximately never.
-
Having unearthed a set of (unexpected!) T3 Torx screws, we get to work doing what we do best!
-
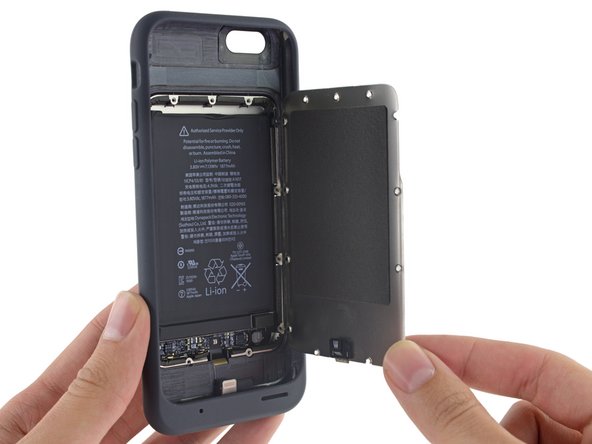
This metal plate is a handy door into the battery compartment, and serves to both stiffen the case and protect the battery.
-
-
-
Sweet, a battery connector!
-
First things first, we disconnect the battery to prevent accidental shorts or discharges. Always nice to see a battery with a connector like this, so we don't have to bust out the soldering iron.
-
The battery is very strongly adhered in place—probably so it can help stiffen the case to protect its precious cargo—your brand new iPhone 6s.
-
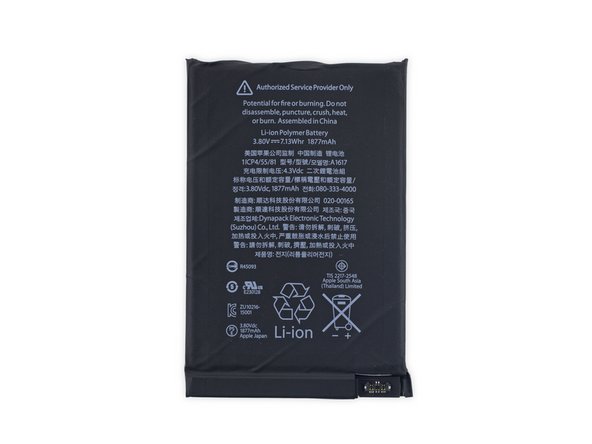
With 7.13 Whr (1877 mAh at 3.8 V) capacity, this battery more than doubles your iPhone 6s (6.55 Whr) capacity.
-
Although if raw power is what you're after, there are plenty of other options, with nearly double the power of the Smart Battery Case.
-
-
-
With the battery out, we got started prying up the logic board...and followed its cable deep into the lower plasticy bits of the case.
-
Looks like we're gonna have to cut our way in anyways, so we're gonna take a shortcut and break a piece off of this Kit-Kat bar.
-
With the lower portion of the case removed, we get to work snipping off its plastic sheath. The entire case (except for the flexible hinge) is made of a hard plastic, seamlessly coated in soft silicone. Tough, but comfortable to hold.
-
-
-
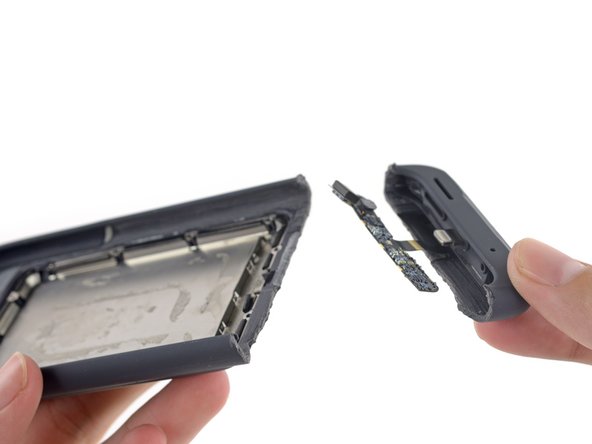
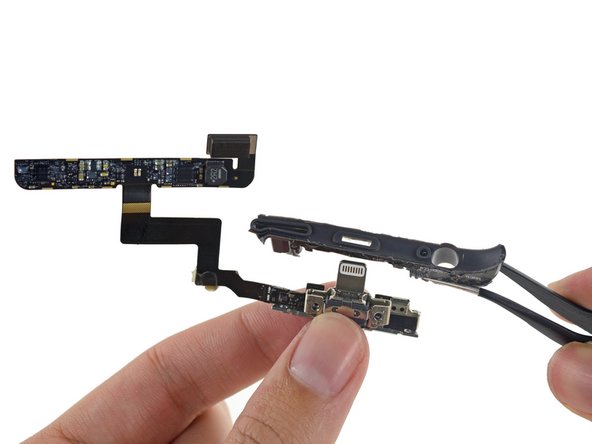
We're free! After some dedicated snipping, that had us harkening back to teardowns of yore, we extricate the parts that make this battery Smart.
-
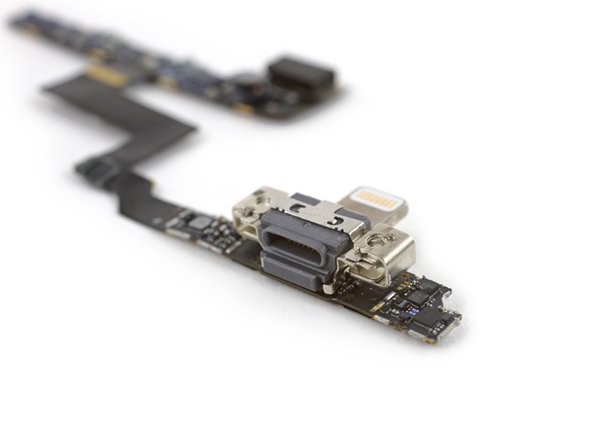
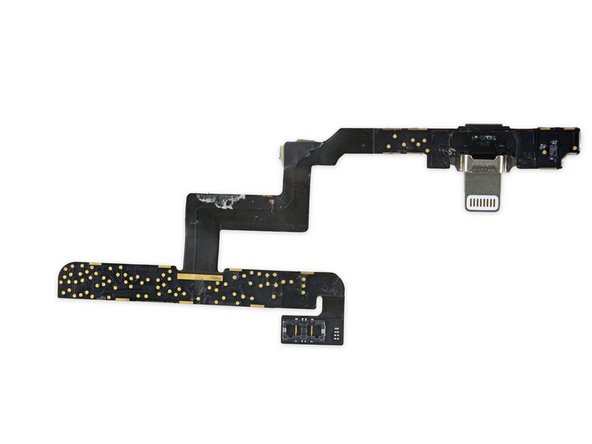
The two Lightning connectors are housed on the same board, with its connecting cable wrapped around a plastic frame.
-
-
-
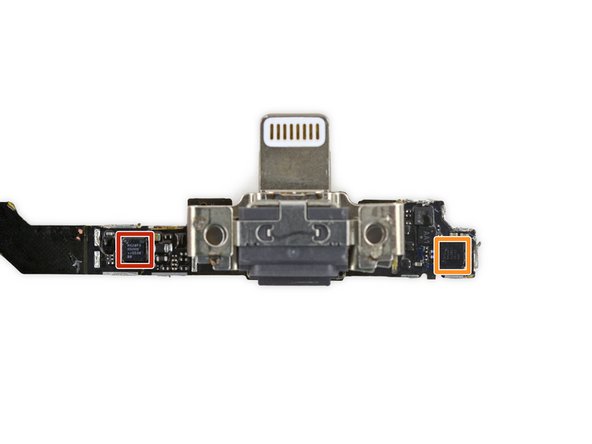
For such a Smart battery, it looks like most of the brains probably live in software on your iPhone. We only find some rudimentary ICs inside:
-
NXP Semiconductor NX20P3 load switch, also found in Lightning to USB cables
-
NXP Semiconductor 1608A1 (CBTL1608) charging IC
-
-
-
Smart Battery repairability 2 out of 10 (10 is easiest to repair):
-
Non-proprietary T3 Torx screws make repairs more accessible, but are covered by strongly-adhered microfiber liner.
-
Battery replacement is possible, but will likely destroy the microfiber liner.
-
The only possible repair—replacing the battery—is made difficult by very strong adhesive.
-
No other repairs are possible without destroying the device.
-
27 Comments
So it's a workaround for all the dead phones that can't charge because of U2 chip failure from non-Apple charger usage. Make and sell an external U2 chip-on-a-backpack to provide your phone with an externally chargeable battery. Way to spin that one Apple. Nice save.
The phone still uses it's own charging IC, this IC is most likely only used for charging the battery in the case and feeding battery charge data (from the Ti chip in the base of the battery) back via the lightning port.


