Introduction
Follow these instructions to use an Anti-Clamp to open a device.
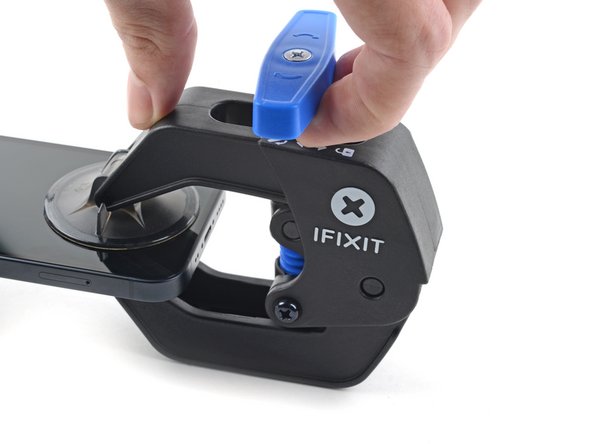
What you need
-
-
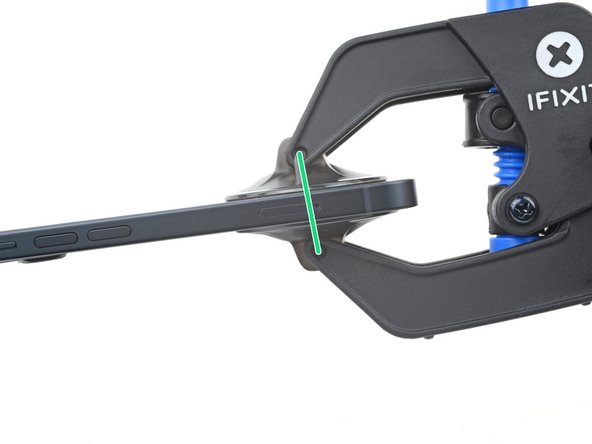
Center the suction cups over a smooth area of the device, near the edge.
-
-
-
-
The Anti-Clamp works best when its cups are aligned with each other.
-
Improper alignment may cause the cups to separate prematurely.
-
-
-
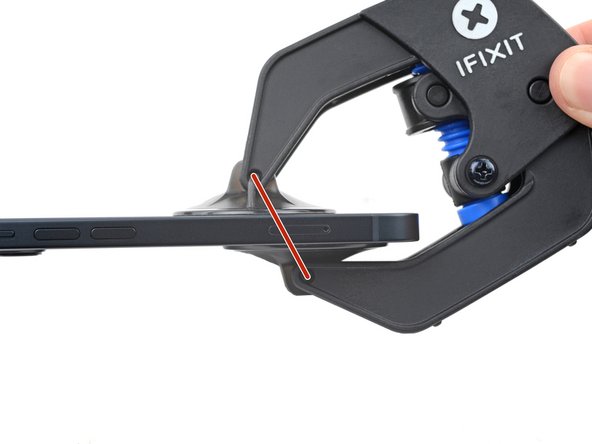
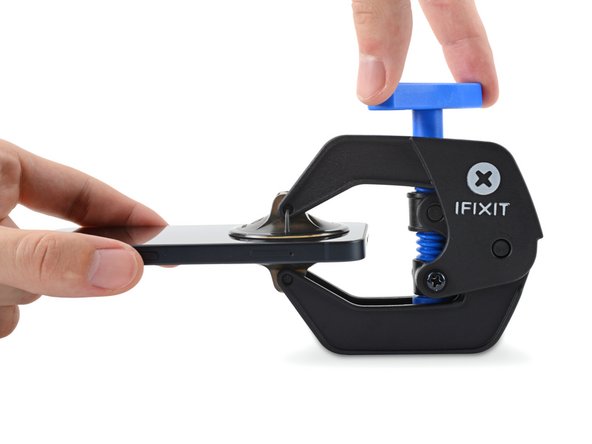
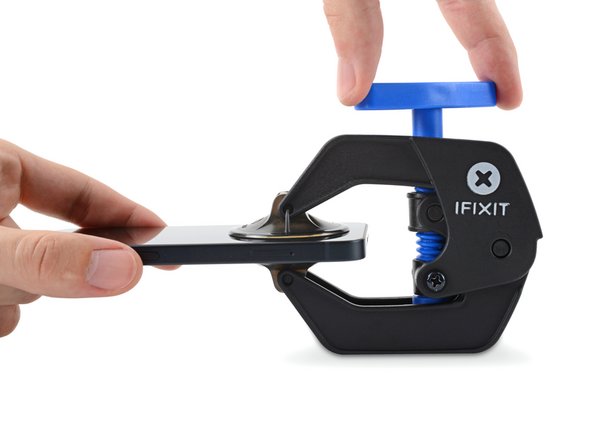
Turn the handle clockwise until you see the cups start to stretch.
-
Wait one minute to give the adhesive a chance to release and present an opening gap.
-
-
-
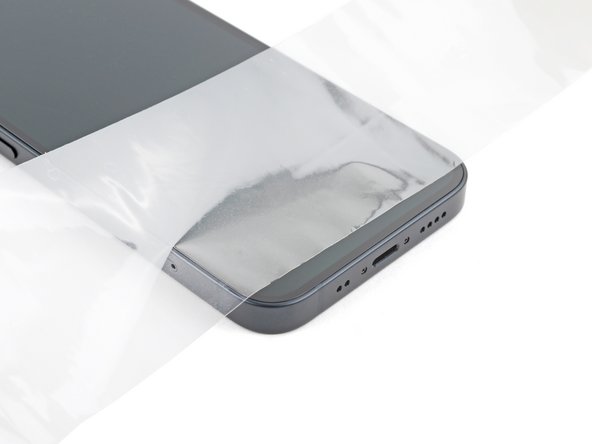
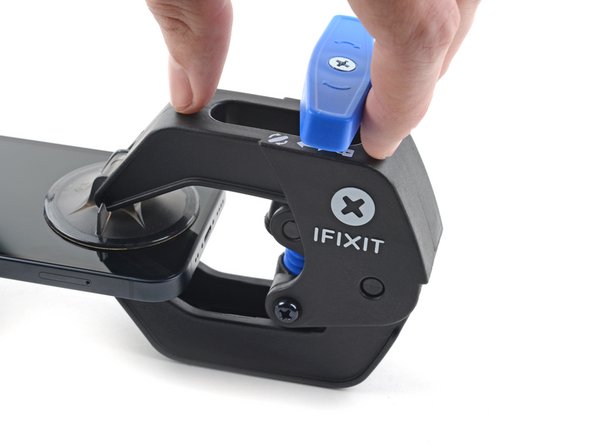
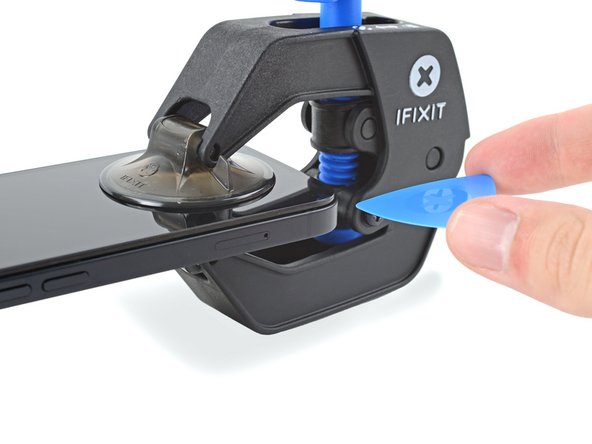
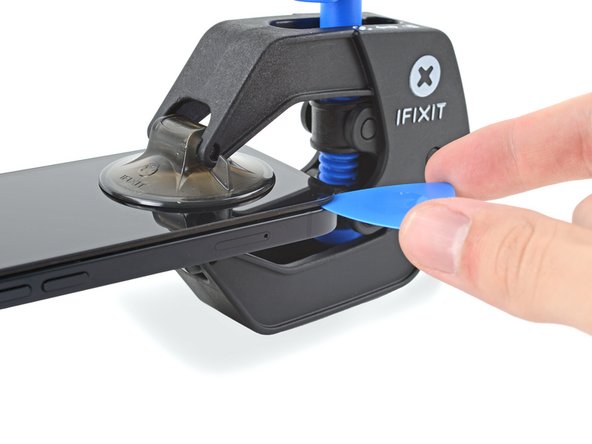
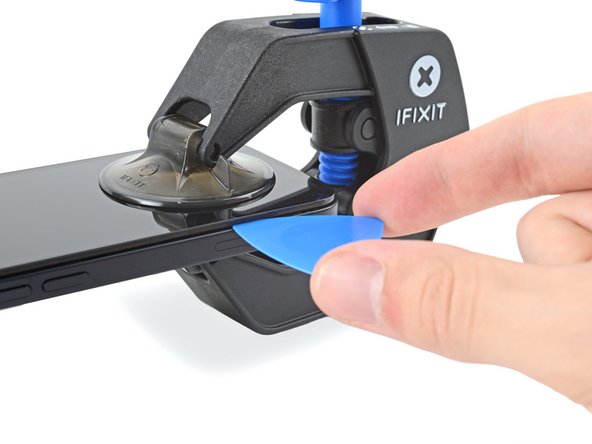
Insert an opening pick when the Anti-Clamp creates a large enough gap.
-
Slide the pick along the perimeter of the device to separate the adhesive.
-


Cancel: I did not complete this guide.
43 other people completed this guide.


5 Comments
Very clear step-by-step guide. The next time I do a battery replacement I intend to use one of these.
Engaging the Opening Mode the first time takes a bit of a push, don't be afraid, keep pushing until you hear a click. Seems to be easier to engage after the first time.
Hi Ed,
Thanks for the helpful feedback! I've implemented your note into the guide step.
I used mine to open a Samsung Galaxy Tab A7 tablet. Very frustrating, seemed like you needed three hands to put it in place (though later I found a better procedure). The OEM case glue was quite powerful (used a heating pad to get the tablet Very hot). The Anti-Clamp had difficulty holding to the back of the case and kept losing its grip. I didn't try the packing tape trick, just now noticed it. I mainly used the top suction cup just by itself.
The replacement battery had a very long battery cable and didn't lay flat, which caused a bright spot on the display where the cable "kink" was. So time to remove the case again. This time I stuck each suction cup individually, screen side first, the case - firmly pressing each cup flat after placement. No need to "fight" the Anti-Clamp to get it in place, plus I think I got a better hold with the cups. The B-7000 glue I used was much easier to break loose than the OEM case glue.
To loosen the suction cups I slid an opening pick under the edge of the cup.